{A little preface - This is an huge amount of info for one bag, but I wanted to record it for future reference. And in sharing things that did or did not work well for me, it will hopefully make your Weekending a little easier.}
This past October, I experienced my first ever "Girls Sewing Weekend" with some of my sisters/mom and a few friends. My friend Morgan and I both made Weekenders, and working on them together was so fun!
 |
| You can check out her super-cute Etsy Shop HERE. |
Our bag styles were very different - and yet I loved them both!
And now that they are done, I'm excited to share with you a few things we learned and did along the way that helped simplify
the process.
{what follows is just my opinions and advice... written a bit skattered... but hopefully helpful if you're just starting out...I've highlighted the main points for easy skimming.
And If you want the particulars of my
bag, but not the process, skip to the bottom of this post.}

If you already know exactly what you want your bag to look like, go for it! But if you are undecided, here's what I'd suggest:
BEFORE
YOU BEGIN
Selecting Fabrics
Do you like scrappy and quilted? Large, bold florals? Simple, minimalistic geometric?
Here’s the first thing you should do: Make a folder on Pinterest just for Weekender Bag Ideas and pin the bags that catch your eye. (Flikr and Instagram have a bunch).
Go back and re-look at all your pins. You will begin to notice a common thread between them.
This advice my friend gave me was exactly what I needed to hear.
"Don't stress about trying to pick a fabric that you
think other people will like... or that you think is
probably trendy. Just pick what YOU like. Don’t worry about anything else."
Advice and Add-Ons
There are a ton of blogs that have
helpful ideas, share personal experience or changes they made, or have tutorials
for extra add-ons to this bag. You can learn a lot from them. So much information can also be confusing. Trust
the pattern! If it's your first time making this bag, make it as written, unless you have previous experience with bag making.
The ONE THING I Would Do Differently
Use a
"beefier" zipper for the outside of the bag - with bigger teeth and tab. I used a standard zipper (one I had on hand),
and now it seems a little wimpy. When I go
to unzip my bag, it is a bit hard to grab hold of the small tab.

SUPPLIES and COST
Use coupons and buy during sales.
Even with buying during sales, and using hefty coupons, the overall cost of the bag ran about $100. Granted, I splurged and bought nice leather handles which added $20 to this total.
PREP
WORK
Cut out all your fabric and
interfacings in one fell swoop - an evening, or a few hours in the afternoon –
it takes a chunk of time.
MAKING
YOUR BAG
1 - If you are adding in any extras, make yourself notes (ahead of time)at those points in the pattern, so you don’t forget to add them, and then have to leave them out (speaking
from personal experience here!).
2 - Go Slow.
3 - Don’t stress over broken
needles. If it makes you feel any
better, I broke 4. Three of them were because I kept
forgetting to switch my needle position back, when rotating between my zipper foot
and regular foot. The other one was when I tried to sew too fast through really thick layers.
4 - I opted to sew my bag lining in with my machine (rather by hand). It looks like top-stitching, isn't going to pull or rip out easily.
MY BAG INFO
(all
items purchased at JoAnn Fabrics unless otherwise noted)
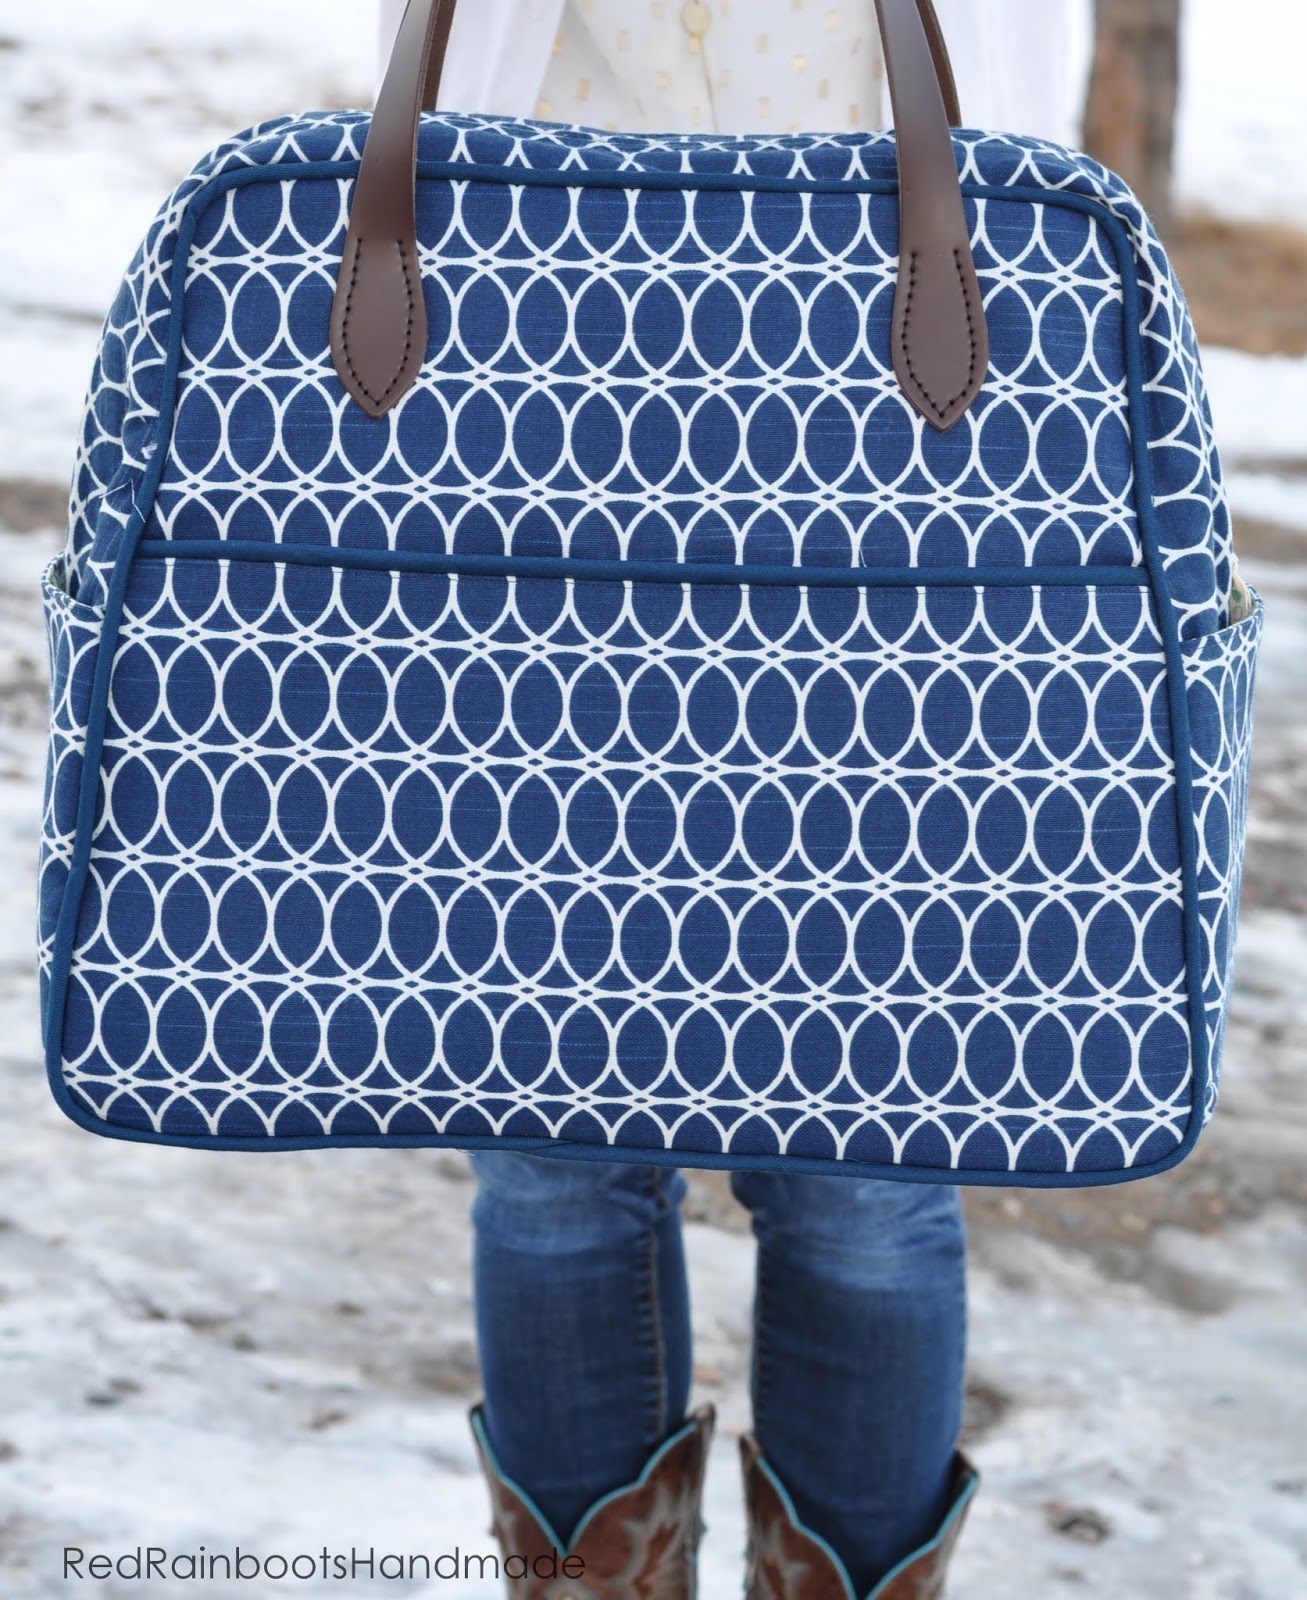
- Exterior Fabric: Home Décor fabric
- Lining Fabric: DS quilting cotton
(*note: because it was a thinner fabric than called for, I used Pellon SF101 on
all my lining pieces, to give it extra stability)
EXTRAS I ADDED
4 bag feet (or 6, and place 2 in the middle to prevent sagging)

2 magnetic snaps for the large
outside pockets

Inside pocket (I used a 9” zipper
and extra lining fabric)

Leather handles (from Etsy)

Stitch Witchery ¼” – for making
your cording (using your zipper foot works too.)

Clover Binding Clips
(so you don't bend all your pins)

TUTORIALS I FOLLOWED
Making your cording - (Jen and Franz)
Adding an Inside Pocket - (U-Handbag)
Attaching Leather Handles - (At Home With Mrs. H)
Hope this helps you have a little more fun Weekending!

Posts like these are lifesavers! Thanks for all the detail & tips...I'm making one of these one day!
ReplyDelete