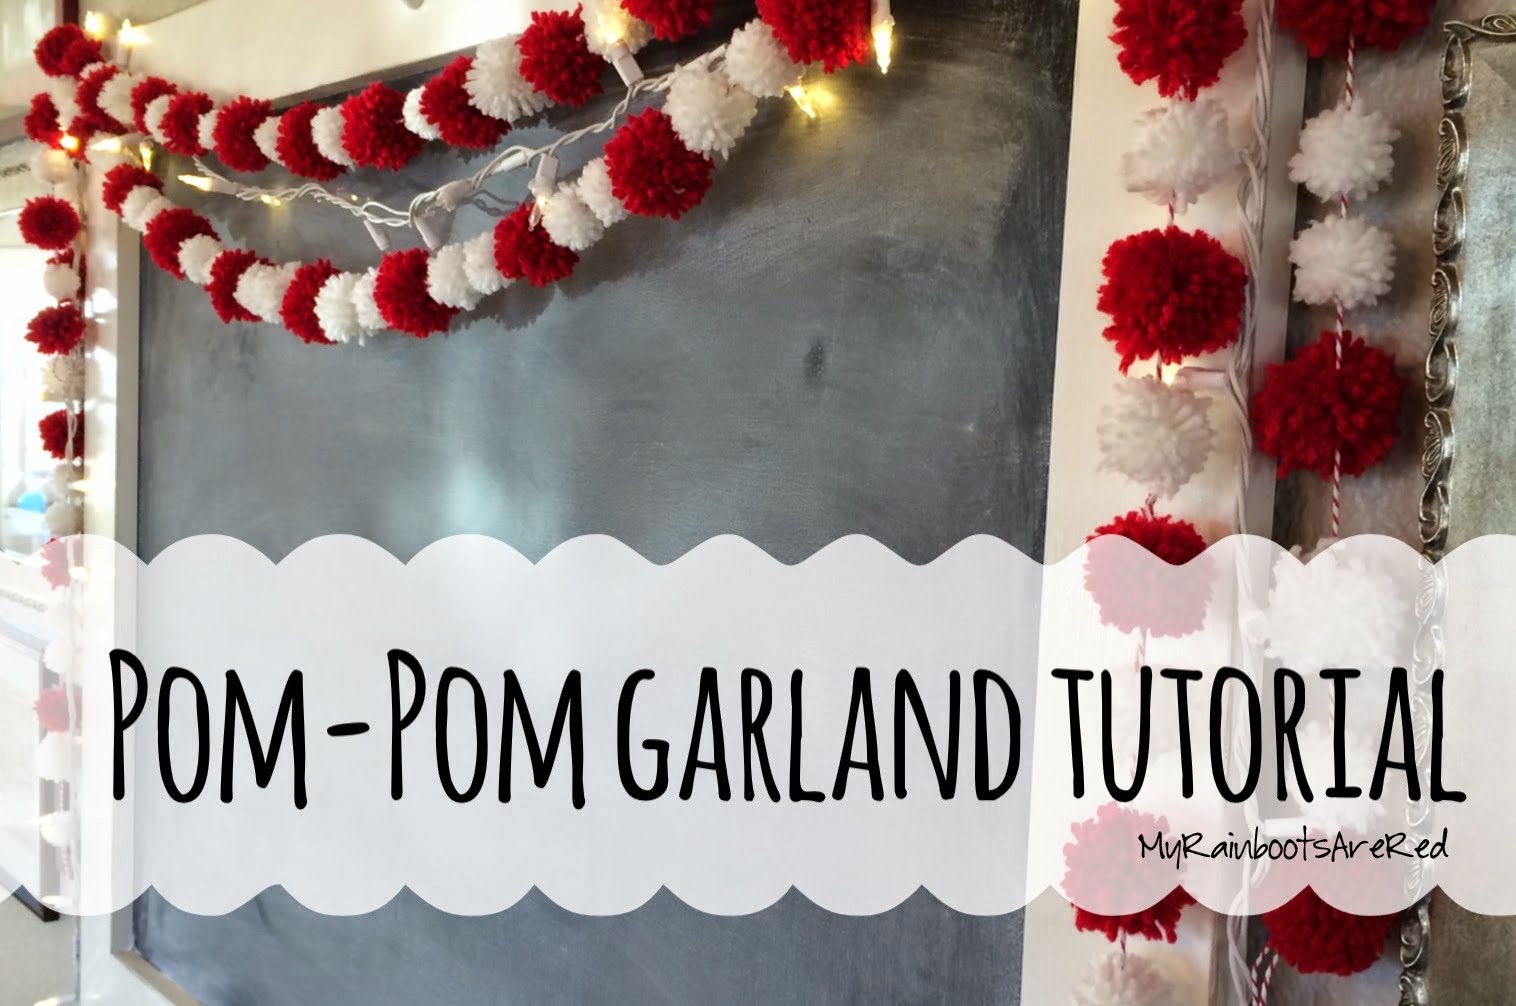
For the past year or so I have been a little obsessed with pom-poms on Pinterest. I think they are so charming and whimsical. And when you make them into garlands, they are fabulous on your mantle, strung over chalkboards, hung in children's bedrooms, or casually draped on headboards...
There are a few different ways to make pom-poms, but overall pom-poms are fairly simple and inexpensive (especially when using up all that leftover yarn!). One thing they do take, is a bit of time (which in my case, is in the evenings after the little ones are asleep, or during the day while listening to them do their reading to me.)I chose to go the cheapest route possible, and used a fork (and my fingers) to make mine. The size and density is up to you! And if you want to make red and white garland like this, just keep reading.
Materials needed:
- red and white yarn
(I used Red Heart Super Saver yarn, in "Cherry Red" and "Soft White")
- kitchen fork
- scissors
- twine (or yarn)
- blunt-end craft needle (I think I got mine at Wal-mart with the knitting stuff) Just be sure it has a BLUNT tip, or it will end up pulling out some of your pom-pom strands.
Note: This tutorial is to make the white pom-poms small size, and the red pom-poms large size, but feel free to switch it up!
To make the Small White Pom-Poms:
(I'm so embarrassed to admit, that with the first 50 or so pompoms I made, I only wrapped the tie through the middle of the looped yarn, and not all the way around the looped yarn, which made them incredibly lopsided, AND I was having to trim off almost half of my pom-poms to make them even. Finally I looked closer at another picture, and realized I had to wrap the tie all the way around the looped yarn! Let's just say, after that it went much better, and I had far less waste. =)
To make the Large Red Pom-Poms:
To make the Pom-Pom Garland:
Cut your twine to desired length. (Note: keep in mind, if you are going to add knots in between pom-poms, you will need to leave extra length on your twine)
Now here's 2 options:
Some tutorials I've seen just have you use the extra ends of the ties, and you tie the pom-poms directly to the twine. I chose to NOT do it this way, as I feel like they look like they're hanging off the twine, vs the twine going directly through the middle of the pom-poms. But it's your call.
Trim all the long tie ends on each pom-pom. And when you get to the end of your twine, make another loop knot.
(having loops at the ends will allow you to connect strands, if you are ever so inclined.)
Can't wait to see what you make with your pom-poms!


