Showing posts with label decorating. Show all posts

Tuesday, November 12, 2013

:: What a little (or a lot) of work will do

I've been looking for a sewing hutch - a place to store my extra fabric and supplies, as well as my patterns and quilting tools.  About a month ago I found this beauty at our local GoodWill store - AND it was on Half-Off Saturday!  (Yes - I was practically dancing right there in the store).  Even though it was a little bit bigger than I had in mind, the bones were exactly what I was looking for, the detailing was beautiful, and it was a Thomasville - which means high quality craftmanship, real wood, and dovetail drawers.  It wasn't the color I was looking for, but we all know THAT is how you get a good deal.  You can't have Pottery Barn beauty and quality, AND a Goodwill price tag.  =)  Good thing I know how to paint.  So it came home with me.
 With the first few brush strokes of primer, I began getting very worried.  I knew I was either crazy...or brave.  I decided crazy.  It was a bear to paint every surface of every shelf and door, but at that point I knew I didn't have a choice but to continue.  Let me just warn you: if you're thinking of painting your first piece of furniture, don't start with a china hutch.  =)
But now that the final coat of creamy paint is on, I'm so glad I did it - despite the many hours of work. 
Our eating table and countertops are covered, so the family's been flexible and we've enjoyed eating on a folding table.  It's so funny, things that adults find an inconvenience, the kids' think exciting.
Can't wait to show it to you finished!


Tuesday, October 23, 2012

:: Shower time

Last weekend I hosted a baby shower for one of my little sisters.  She is having her first baby,
which made it extra-special.


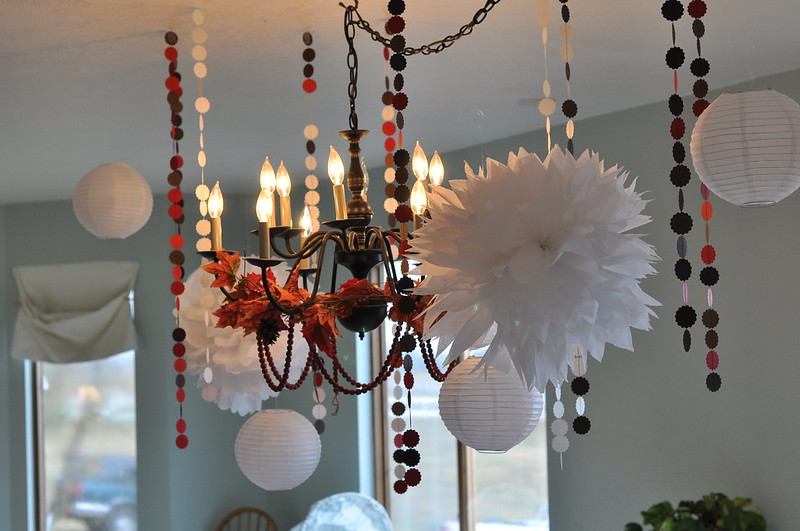
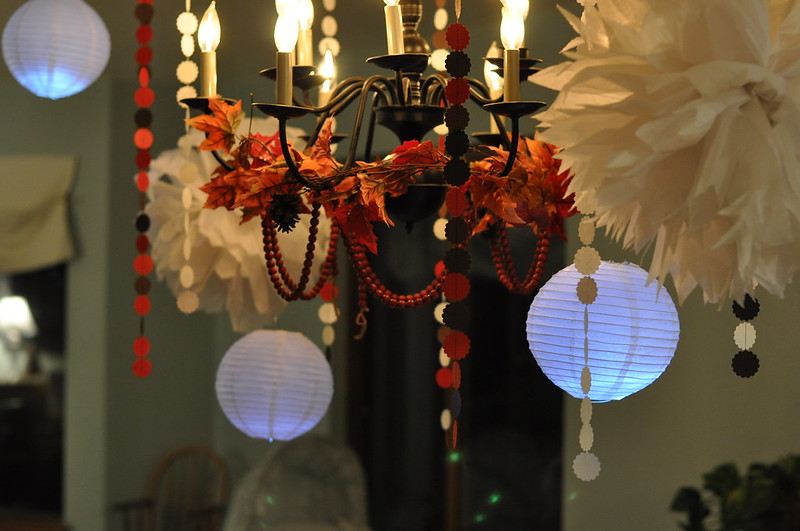
I was so excited to make tissue paper pom-poms from these directions from Martha Stewart.  I've always loved that woman. =)
And the paper garlands were easy.    I saw this picture, and knew I had to make some.  I used a hole-punch, then sewed them all together, using a long stitch on my sewing machine.  Acctually, my 5-year-old daughter really enjoyed sewing them...and many more.  Now her room is adorned with brightly colored construction-paper garlands.  It's like confetti-on-a-string.  I love it.
 
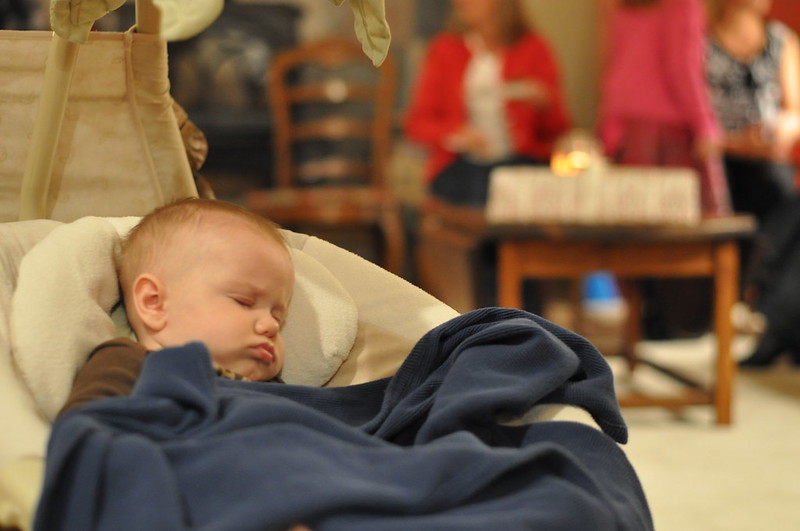
Blaize & Axel.  Cousins are the best kind of friends.  =)
 
 
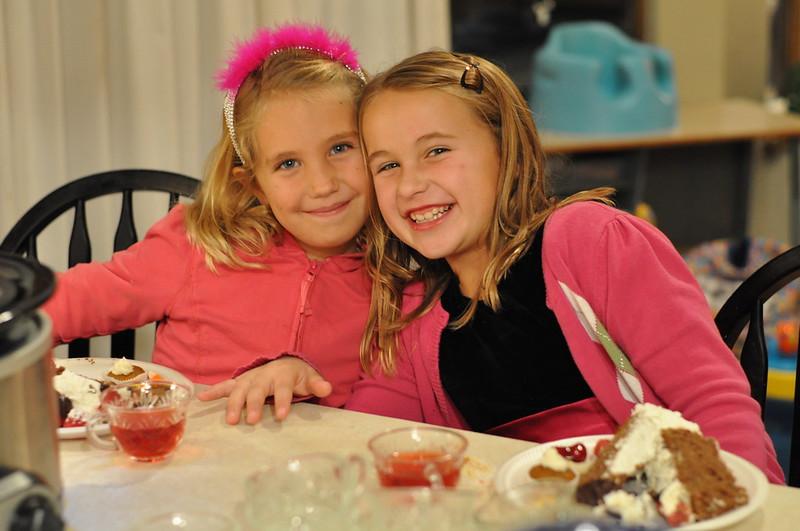
The food was scrumptious.  Mini pumpkin muffins, salted nuts, mini cheesecakes, chexmix, and my sister Cara's absolutely best chocolate cake (not pictured here) heaped with berries of all kinds, drizzled with more chocolate.  Did I ever mention I LOVE chocolate?  It makes me happy.  True thing.


These mini-cheesecakes were divine!  And so easy. I found the recipe here.

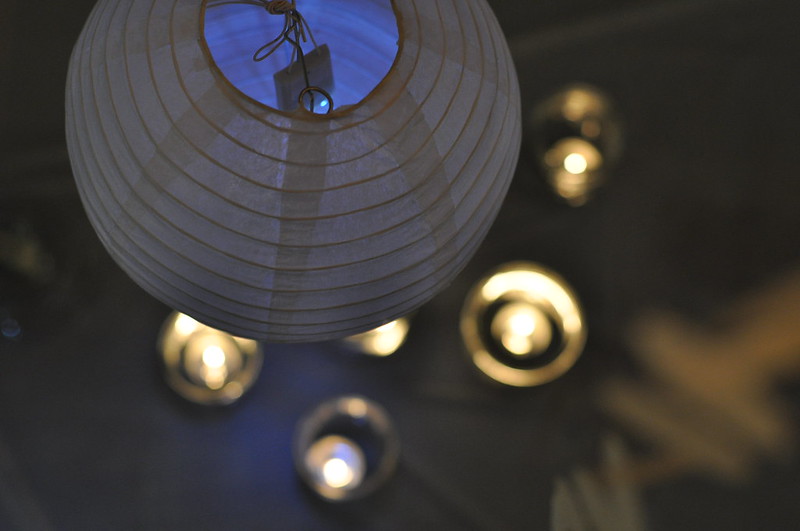
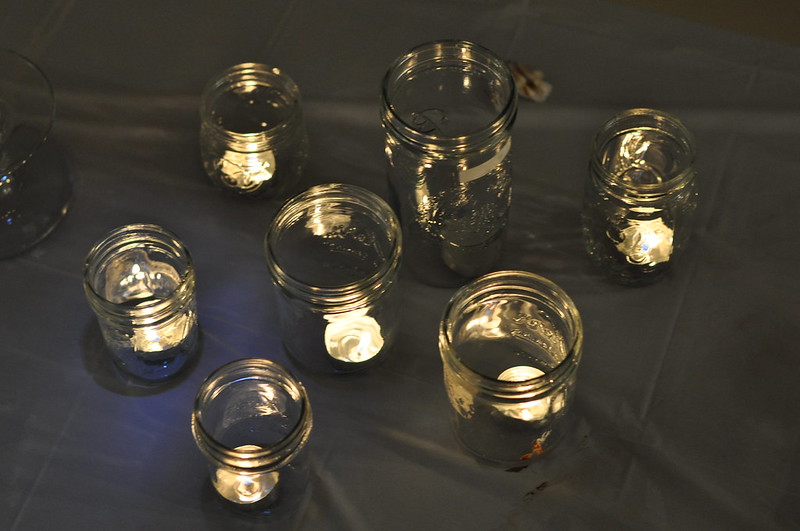
(Thank you, Mimi, for the wonderful lanterns!)


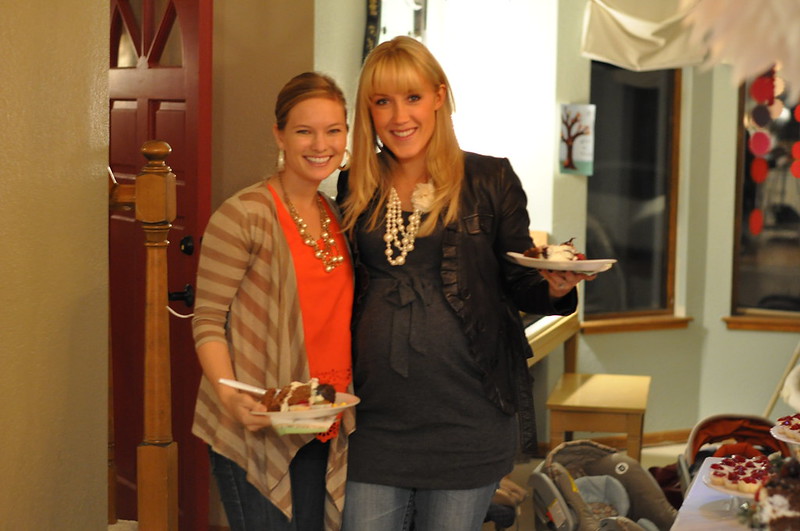
Us ladies enjoyed having a night with each other, our babies and daughters.  She got some thoughtful gifts.  All-in-all, it was a wonderful night.

Thursday, October 11, 2012

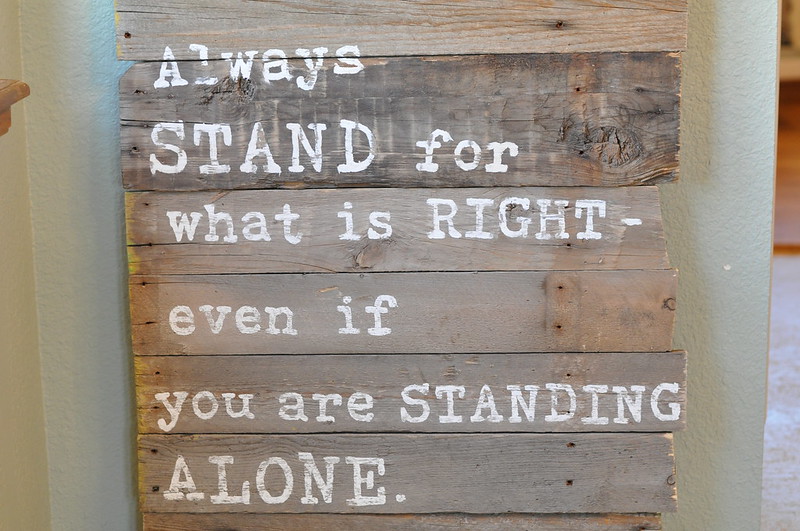
:: Pallet Art

We don't own one piece of expensive art in our house.  Not that I wouldn't love some - it just never makes the cut, budget-wise.  Inspired by my bare walls and the many ideas on Pinterest, I decided to try making some (being the artist that I am not).  I told Josh I was using "reclaimed lumber", and when I saw the blank look, I explaind:  pallet boards.  But it sounds so much more hip and trendy saying it the other way.


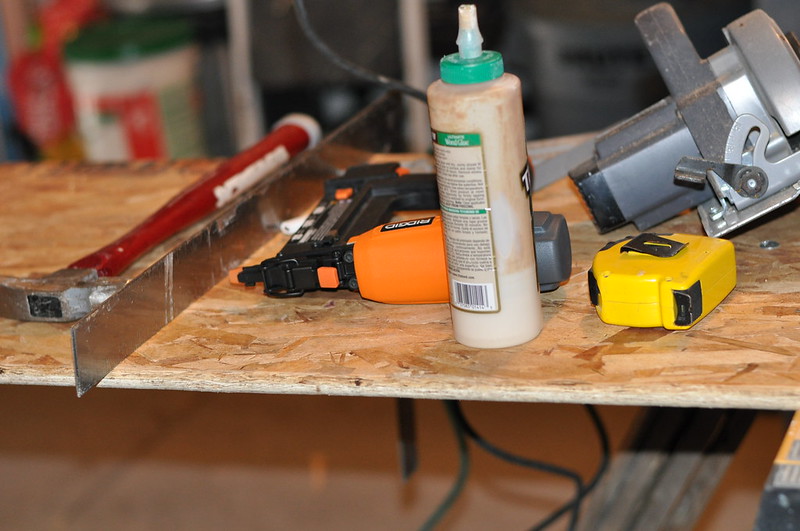
So, not knowing exactly how to dissasemble the pallets, I used a small sledge hammer to whack them apart.  It worked. =)  I then removed (some of) the rusty nails, and let my man take over from there. =)


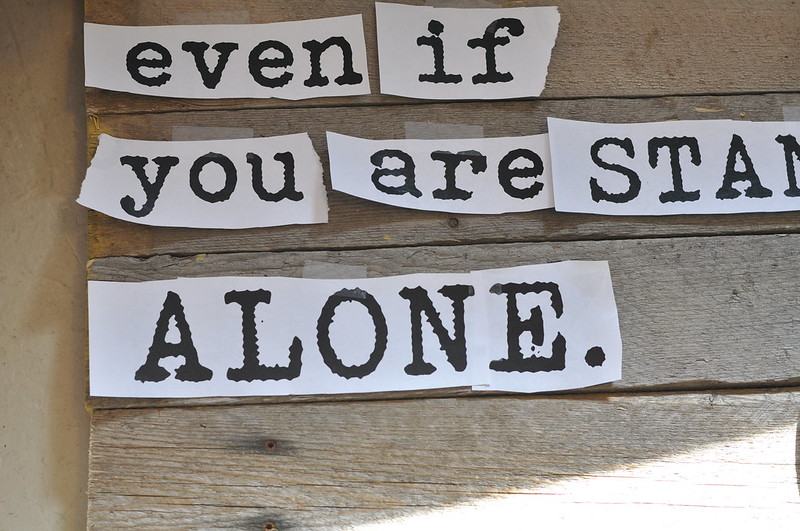
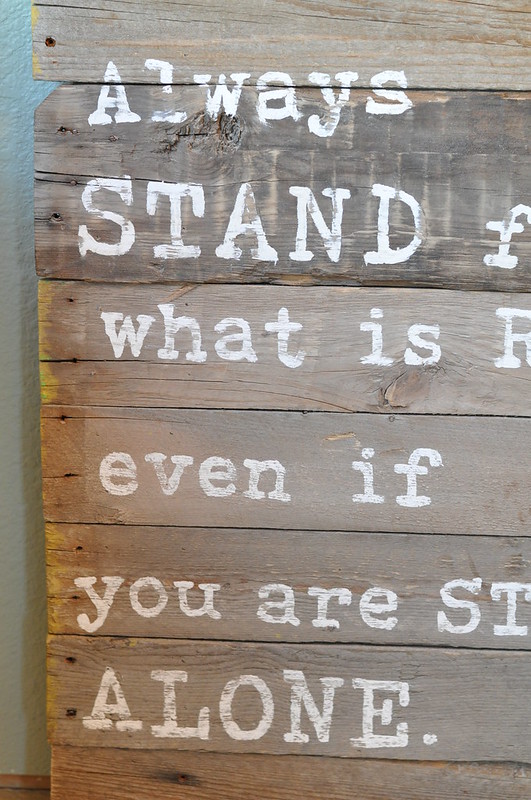
Once he had the boards assembled, I used this method to paint my lettering.  I'm not gonna lie.  It wasn't easy.  I had to press so hard to make even a faint outline of the letters; but it probably didn't help that I was using old, hardend boards. 


Once the paint dried, I used a rough piece of sandpaper and rubbed over the lettering, giving it a weathered look, suitable for the aged wood.


It's going in my boys' bathroom, and I can't wait to get 'er hung.  Here's hoping that if they have enough years to read it, the message will brainwash them sink in and help them hold fast through the teen years. 
For me: I would absolutely love to know if there is an easier way to do lettering!

Thursday, September 20, 2012

:: Hanging like plates

The very first time we walked through the front doors of this house for a showing, I admired the curved staircase.  Visions instantly filling my mind: each of my 3 daughters taking their turn, misty white gown flowing behind them, descending those stairs on the arm of their father.

However, the honemoon ended after we moved in and I tried to decorate that space.  What can you hang on a curved wall?  Not much.  I filled many nail holes as I discovered this fact.


(inspiration photo)

But thanks to pinterest... an idea began to form.  Not only was this new idea vintage looking, it fit our (non-existant) decorating budget.

I found the most awesome plate hangers at hobby lobby.  They come in different sizes, but the 3" size that I used were only $1.99 (and I used my 40% coupon on several visits).  SOOO much better than the metal stretchy ones (which I did use for the biggest plates, as the DISC hangers can be kinda pricey for the large size).

(thrift store plates, collected over the weeks)

It was harder than I thought, hanging these innocent-looking plates.  The hanging was easy enough.  Nail a hole and hang the things.  But at first, it looked like a wave of plates had hit my wall. So I tried moving them around, and they looked even worse.  (if you look closely, you can see some of the holes I had to fill)


My man would never want to admit it, but he really has an eye.  He came home from work, I sheepishly filled all the holes, and we started over. 

(lampshade from target.com)

Now I love walking through my front door.  =)


Related Posts Plugin for WordPress, Blogger...