Recently I've been writing my Simple Girl Sewing Machine Cover pattern (for sale here) and guess what? It has curved edges which required bias binding. (ugh) But wait! There is an EASY, FAST way to make continuous bias binding, and it makes up to 5 yards with just 1 fat quarter of fabric! I know there are probably 100 tutorials online that might show you how to do this, but for the benefit of my Simple Girl pattern, here's tutorial #101...
Simple Continuous Bias Binding - using 1 Fat Quarter!
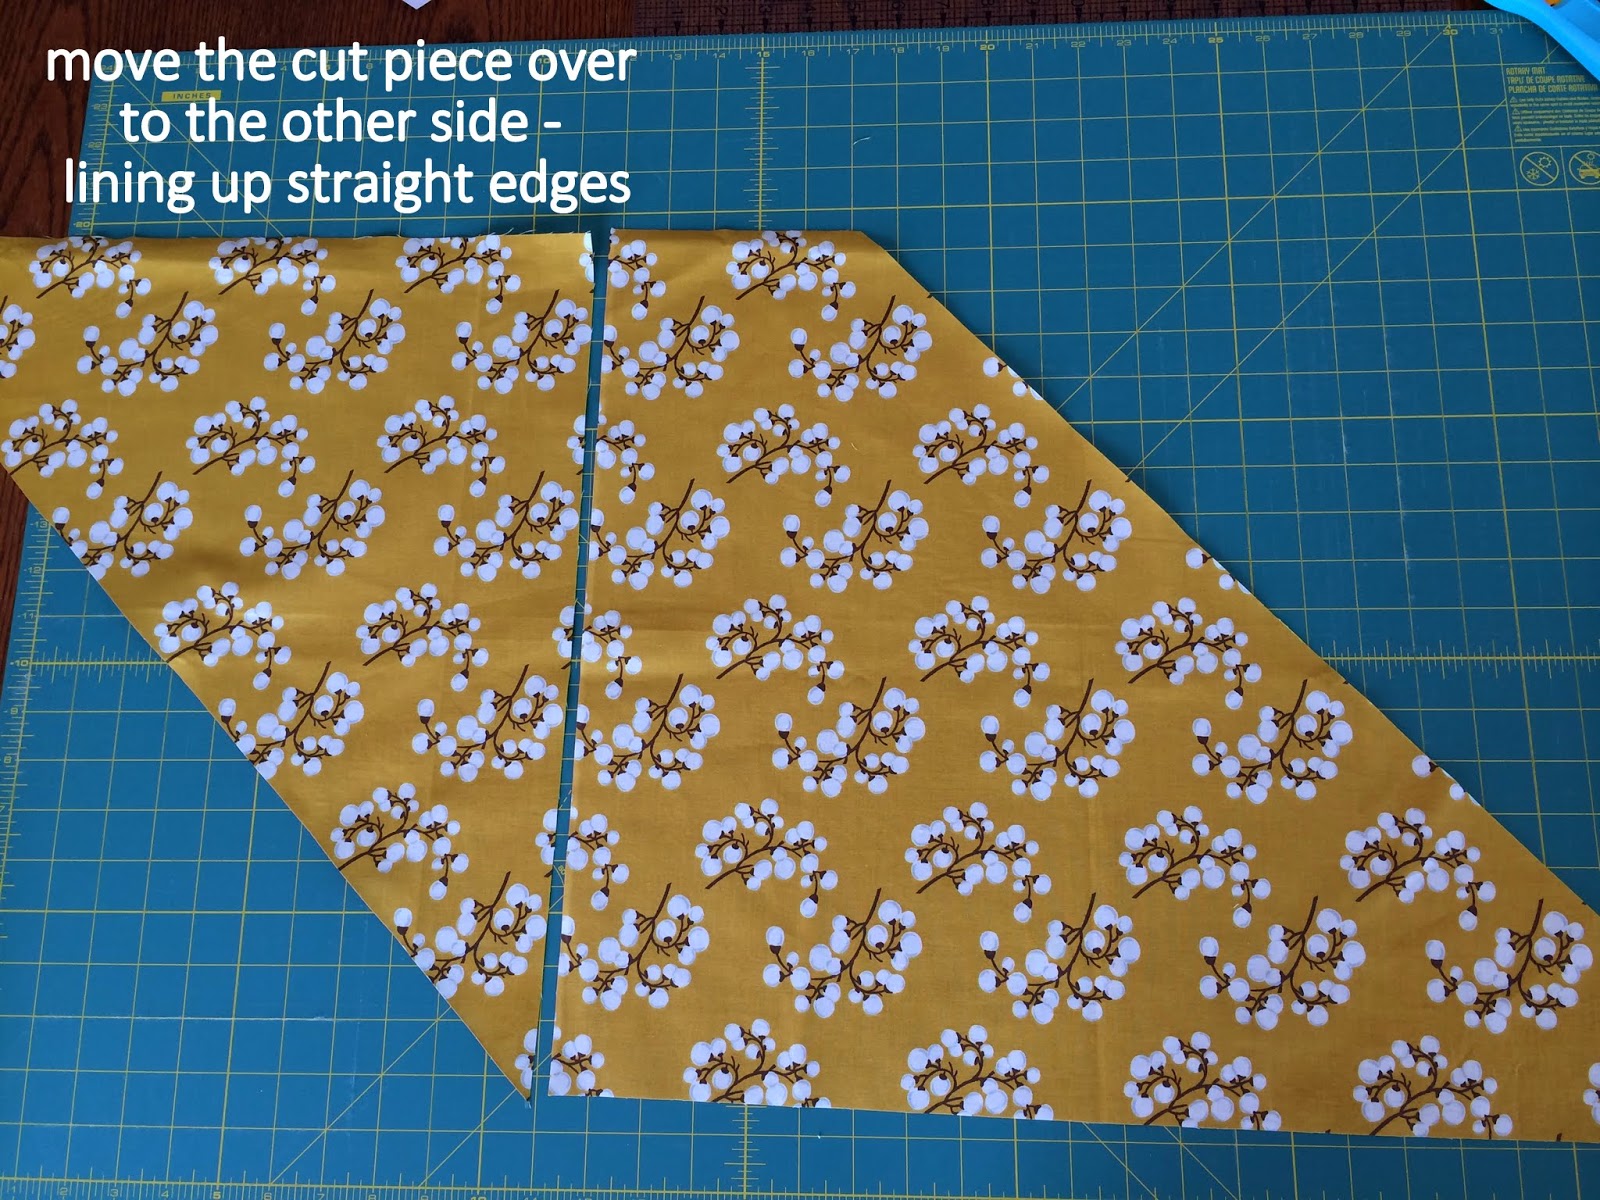
To start, remove the selvage and square up your fat quarter to 18" x 22" (or 18" x larger).
Stitch them together, using a very short stitch length (I shortened mine by half). You will be cutting across your seams and this helps them to not come apart.
Note: if you are making bias binding for the Simple Girl pattern - mark your lines at 2.5" wide.
At this point, you're going to fold your fabric (right sides together) so the lines match up (basically making a tube). You will want to slide one side over so your first drawn line matches up with the raw edge of the other side. (See drawing below.)
Your fabric will sort-of twist while you're doing this.
Stitch along this edge with 1/4" seam. (Again, use a short stitch length.)
Now for the fun part....
And now (depending on how wide you made yours) you have up to 5 yards of continuous bias binding! (If you cut your binding strips 2.5" wide for the Simple Girl pattern, you will have approx. 4 yards of binding.) And all of it with no stress - no sweating (well, hopefully) - and no waste!Note: If you'd like more info on turning your continuous bias binding into French Fold (Double Fold) bias binding, visit this brilliant page (here) for measurements/yardages.


Love this!!!
ReplyDelete